
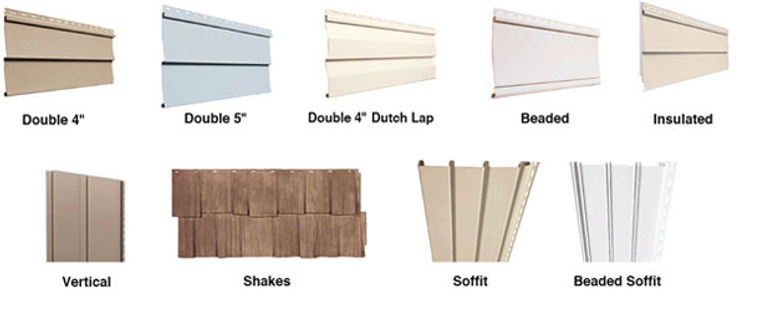
vinyl siding
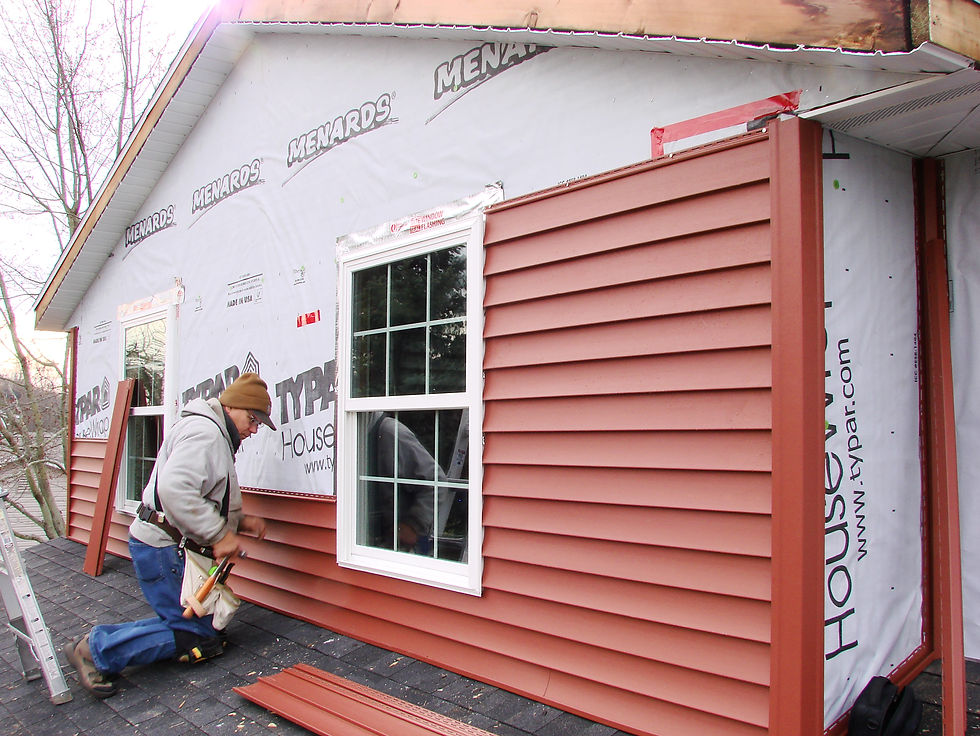
Vinyl siding popularity and use has grown exponentially in the last several decades with it’s ease of installation, effectiveness as a building cladding, aesthetic look, and economics compared to other materials. There are an extensive amount of colors and styles available. The most commonly referred to style of siding has two panel rows per piece with a perforated nailing hem at the top, a center butt in the middle, and bottom channel or ‘bottom lock’.
An important thing to remember about siding is that it’s ‘hung’ not nailed liked rigid siding materials. Vinyl siding is meant to expand and contract. The following are the basic components of a Vinyl Siding System:


Bottom Lock – Bottom edge of the panel or piece which locks into the preceding panel
Channel – the area on the trim or other piece where siding is inserted and/or locked in (can also be J-Channel and F-Channel)


Drip Cap / Head Flashing – An accessory used to shed water away from windows and doors and when transitioning from different types of siding.

Flashing – Typically bent aluminum positioned behind vinyl siding to protect sub-materials at locations where water penetration is more likely (J-Channels, Corner Posts, Windows/Doors, etc)


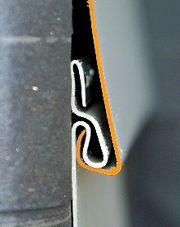
Lug/Crimp – raised tabs or ‘ears’ (created by a snaplock punch tool) which is used to snap a panel into undersill trim if the nailing hem has been removed

Flange or (Nailing Hem) – Located on the top of the panel where the perforation or ‘nailing slots’ are located.


Starter Strip – A piece applied to the surface of the exterior of the building which receives/locks the first siding panel into place (from bottom up)
Inside Corner Post – A dual-channeled trim piece with nailing hems typically installed on a 90degree inside corner which receives siding on either side


Outside Corner Post – A dual-channeled trim piece with nailing hems typically installed on a 90degree outside corner which receives siding on either side
Undersill Trim – A trim piece with a nailing hem which typically receives siding under a window

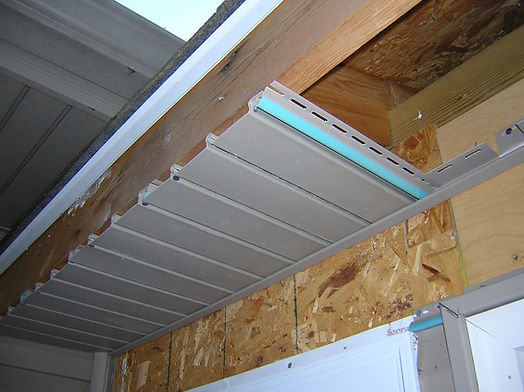
J-Channel – A trim piece with a nailing hem which is most commonly utilized at the juncture between a vertical wall and a soffit panel, also utilized around windows and doors


Vinyl siding common thicknesses are 0.040, 0.042, 0.044, 0.046 or more. Vinyl siding must expand and contract with temperature/humidity changes throughout it’s lifetime. Because of this, certain gap widths must be provided during installation (below 30 1/2″ gap, above 90 1/4″ gap, in between 1/8″ gap). Nails used will need to be corrosion resistant galvanized, stainless, or aluminum roofing nails, 3/8″ head, with 1/8″ shank, and penetrate at least 3/4″ into building sheathing.

A 1/16″ gap must be left between nail head and nailing hem for expansion/contraction and dimpling resistance. Nail heads should be centered in opening and placed straight to resist panel buckling, at 12-16″ centers.
Vinyl siding can be scored and snapped, cut with tin snips, or cut with a power saw with a fine-toothed blade. On existing buildings, sometimes furring strips may be required to level and plumb walls. Lath strips (wood) and 1 x 3 wood strips (masonry) will typically be required on existing surfaces. For installation over existing horizontal or vertical siding, furring strips every 12-16″ are typically utilized with full furring surrounding windows, doors, and openings.
First the starter strip is installed, often with a level snapped chalk line.

It’s a good idea to measure the top of the windows to ensure that the siding’s shadowlines meet the window/door tops. Then inside corners, outside corners, J-Channels, and other specialty channels are installed before any siding panels are installed. Siding pieces are then installed by securing with nails at the top and snapping in the panel bottom channel into the previously installed piece. The panel sides overlap to allow for expansion and contraction.

The most common viewpoint of the siding of the home (often the front yard) must be considered by assuring siding lap seams occur to minimize being seen.
Also uniform stair step installation patterns that catch the eye should be avoided. Snapping continuous straight chalk lines assure even courses. Straight visible lines become even more critical around doors and windows which are typically level and don’t take kindly visually to uneven siding panels. Using excessive J-Channel should be avoided if possible, often by attempting to install panels behind window and door trim if possible.